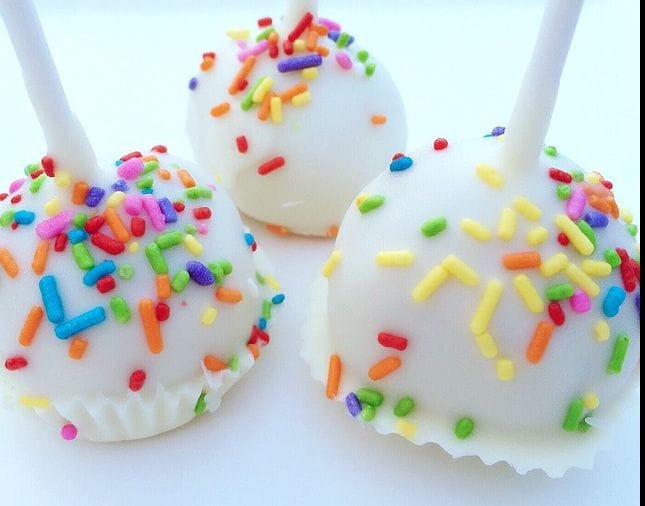
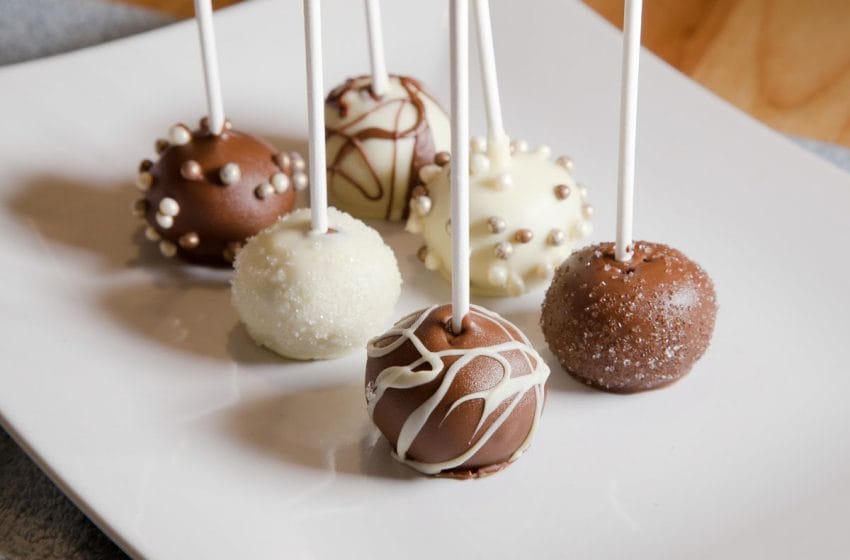
I really love this recipe for red velvet cake pops .. they are so delicious and you can decorate them with chocolate and decorations of your choice
These cake pops are great to make for any party .. like a Wedding , Birthday , Baby shower or any other occasion it is up to you
I just had to find you a recipe today for cake pops as it is National Cake Pops Day too .. happy baking
This great cake pop recipe is brought to you by Lovebites on YouTube , thanks for sharing this recipe
Here below is the recipe and the video tutorial to watch as well both from the YouTube channel
Red Velvet Cake
Yields: (About 60 cake pops)
INGREDIENTS
1 1/4 cups (150g) of flour
3/4 tsp (3.5g) of baking soda
pinch of salt
3/4 cup (175mL) of buttermilk
1 1/2 tsp (7.5mL) of white vinegar
1 tsp (5mL) of vanilla extract
1 large egg
1 1/2 tsp (6.5g) of cocoa
1 1/2 tsp (7.5mL) of red dye
8 Tbsp (120g) of butter
1 cup (200g) of sugar
Cream Cheese Frosting
8 Tbsp (120g) of butter
2 cups (250g) of powdered sugar
8 oz (225g) of cream cheese
1 tsp (5mL) of vanilla extract
pinch of salt
(NOTE: may not need all of the cream cheese)
add in small amounts at a time to get correct consistency
Chocolate
2 cups (360g) of each desired chocolate
Decorations
DIRECTIONS
Preheat the oven to 350 degrees F. Lightly oil your cake pan
In a large bowl, sift together all the dry ingredients. In another large bowl, whisk together all the wet ingredients
Using a standing mixer, mix the dry ingredients into the wet ingredients until just combined and a smooth batter is formed.
Cook for about 25-30 minutes. Let cool before taking out of the pan. Crumble the cake into a bowl.
Slowly add in your cream cheese frosting until the cake forms easily in your hand, like wet sand. Take one small scoop (about 2 Tbsp) in your hand and role the mixture into a ball. Place it onto a baking sheet and repeat step until all the mixture is gone.
Melt the chocolate using either the microwave in slow increments on a low temperature or a double boiler (tempering your chocolate.)
Dip your stick into the chocolate and place it into your cake ball about 1/3 of the way in. Repeat for all the cake balls.
Place cake ball in the refrigerator for 20 minutes to set or 10 minutes in the freezer.
Then your cake pops are ready to be fully dipped in your chocolate.
*Make sure to tap off any excess chocolate before decorating!! Decorate with any toppings you like, or a contrasting chocolate for extra effect. Then place your cake pop to dry either on a baking tray lined with wax paper or in a piece of Styrofoam (if you would like them perfectly round.)
Place them in the refrigerator again to let the chocolate set, about 10 minutes, and they are ready to eat!
February 1 is National Cake Pops Day

Five Food Finds about Cake Pops
- A cake pop is cake, baked in an appealing shape, hand dipped in frosting, and decorated to taste, all on a stick to be eaten as candy.
- While there is no recorded date for the creation of cake pops. Most people say that Bakerella, a popular baking blog, helped make then a “pop” phenomenon.
- In 2011, cake pops were considered the newest and most popular confectionery food trends
- Other variations of cake pops are cake balls, cakesicles, cupcake pops, and cake-on-a-stick.
- Cake pops in recent years have become ubiquitous to Starbucks coffee shops.
Article Source :https://foodimentary.com/2016/02/01/february-1-is-national-cake-pops-day/


