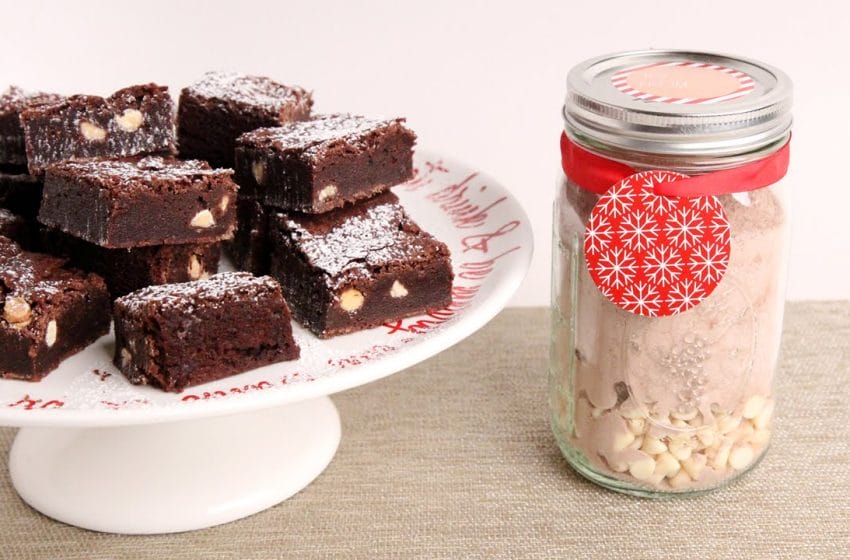
I really love the idea of giving an edible gift jar so when I came across this recipe for a chocolate brownie jar I was hooked straight away , I love chocolate brownies as they are so delicious , so with this gift jar I think it will be appreciated by anyone who receives it because i would be for sure
When it comes to thinking what present to give someone it can be difficult but with an edible gift jar it solves all those problems as it is a fun gift that you have made yourself what better gift to receive
This great gift jar for these brownies has been brought to you by Laura in the Kitchen on YouTube , thanks for sharing this amazing idea with us
Here below is a list of the ingredients you will need to make this gift jar etc from the YouTube channel
For the Dry Mixture:
1 ¼ cups of Granulated Sugar
8 oz White Chocolate Chips
1 cup of All Purpose Flour
¼ cup of Unsweetened Cocoa Powder
½ tsp of Instant Coffee Granules
½ tsp of SaltAdditional Ingredients to make the brownies:
10 oz of Bittersweet Chocolate Chips
½ cup of Unsalted Butter
2 Eggs1) To make and store your dry mixture, simply mix all the dry ingredients together, place them in a container with a tight fitting lid and store in your pantry. This mixture will keep for a couple months. My suggestion is to double or triple the amounts of ingredients so you can have several batches on hand at all times.
2) When you want to make a batch of brownies, add the butter and chocolate to a saucepan and cook on medium low heat until the butter and chocolate melts, remove from the heat and allow to cool slightly (make sure you’re stirring the mixture to prevent lumps) then add the butter and chocolate to a bowl and to it, add 2 ½ cups of the dry mixture and the eggs. Mix everything together until combined (the mixture will be quite thick and not at all runny (these are brownies not cake) then add the mixture to a 8×8” buttered baking pan and bake them in a 350 degree oven for 40 minutes. Allow them to cool before serving.
Originally posted 2015-12-12 11:14:29.


